Overview
This complete 2026 guide helps Utah homeowners understand exactly what a basement plumbing rough-in is, how to spot one in their own home, and why it can be one of the biggest money and time savers when finishing a basement. You will find a simple identification checklist, real project savings numbers, and how it affects a full basement remodel, Utah-specific code and soil details, and practical steps to turn existing pipes into a finished space that adds real home value. Whether you are planning a guest bathroom, wet bar, or complete lower level, this covers every detail so you can move forward with confidence and avoid expensive surprises.
Table of Contents
- What Exactly Is a Basement Plumbing Rough-In?
- How to Spot a Rough-In in Your Own Basement
- How a Rough-In Can Save You Thousands on Your Basement Project
- Why You Should Still Get It Checked Even If You Have One
- Utah Soil, Codes, and What It Means for Your Project
- Common Mistakes and How to Avoid Them
- How Much Time and Money Can You Really Save?
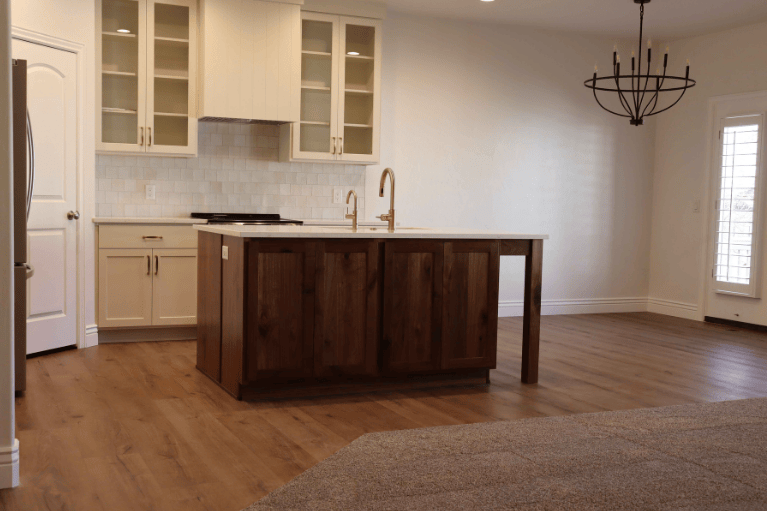
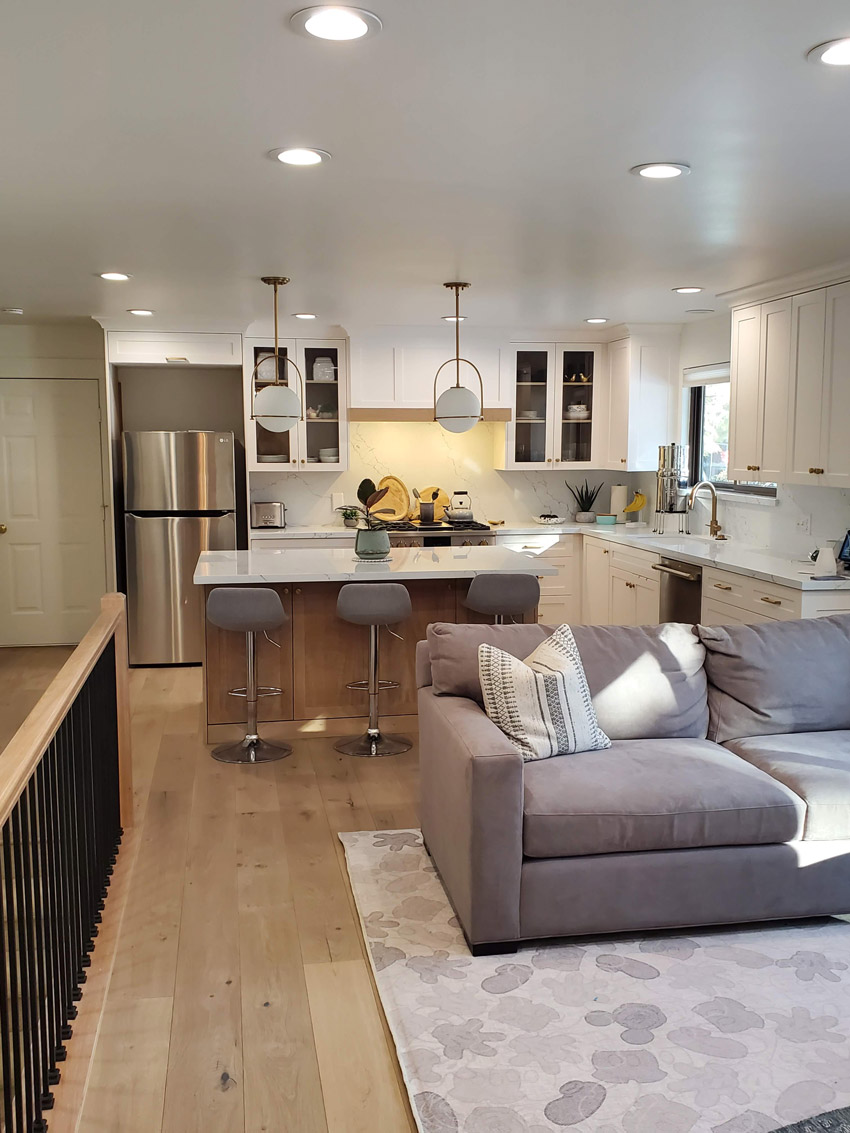
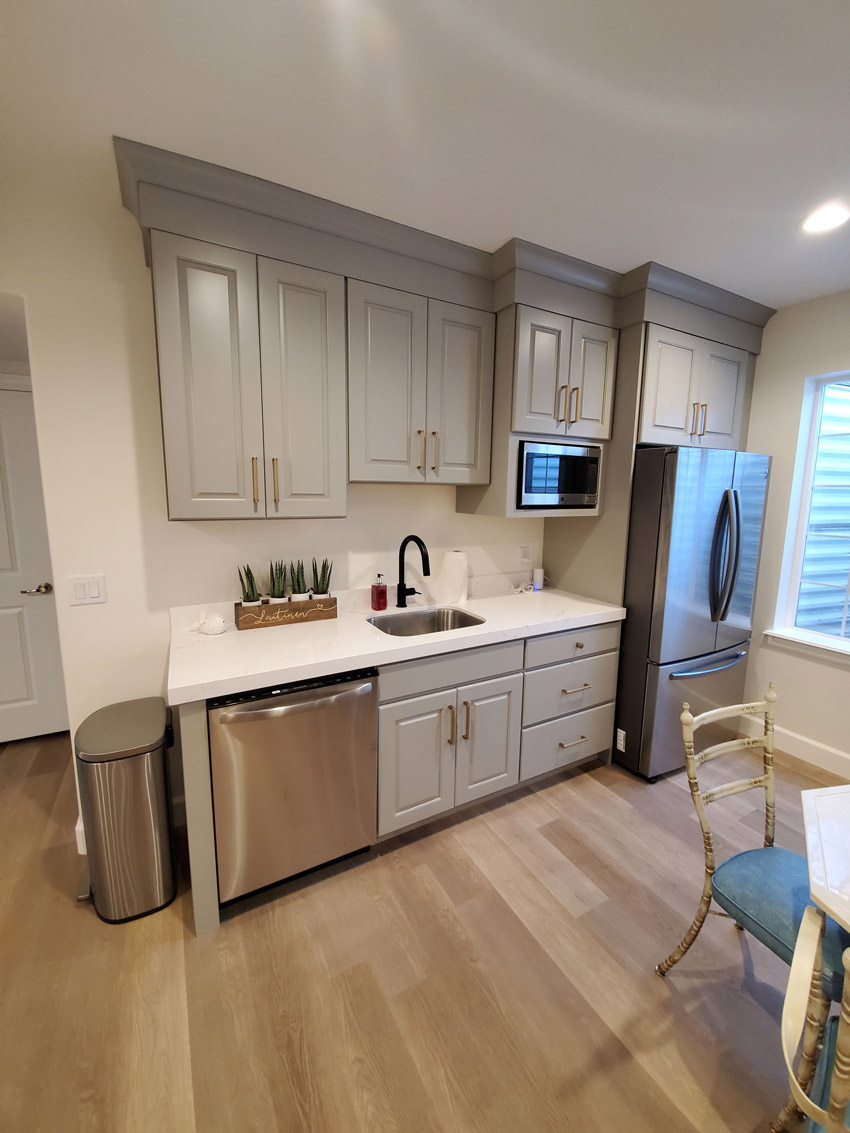
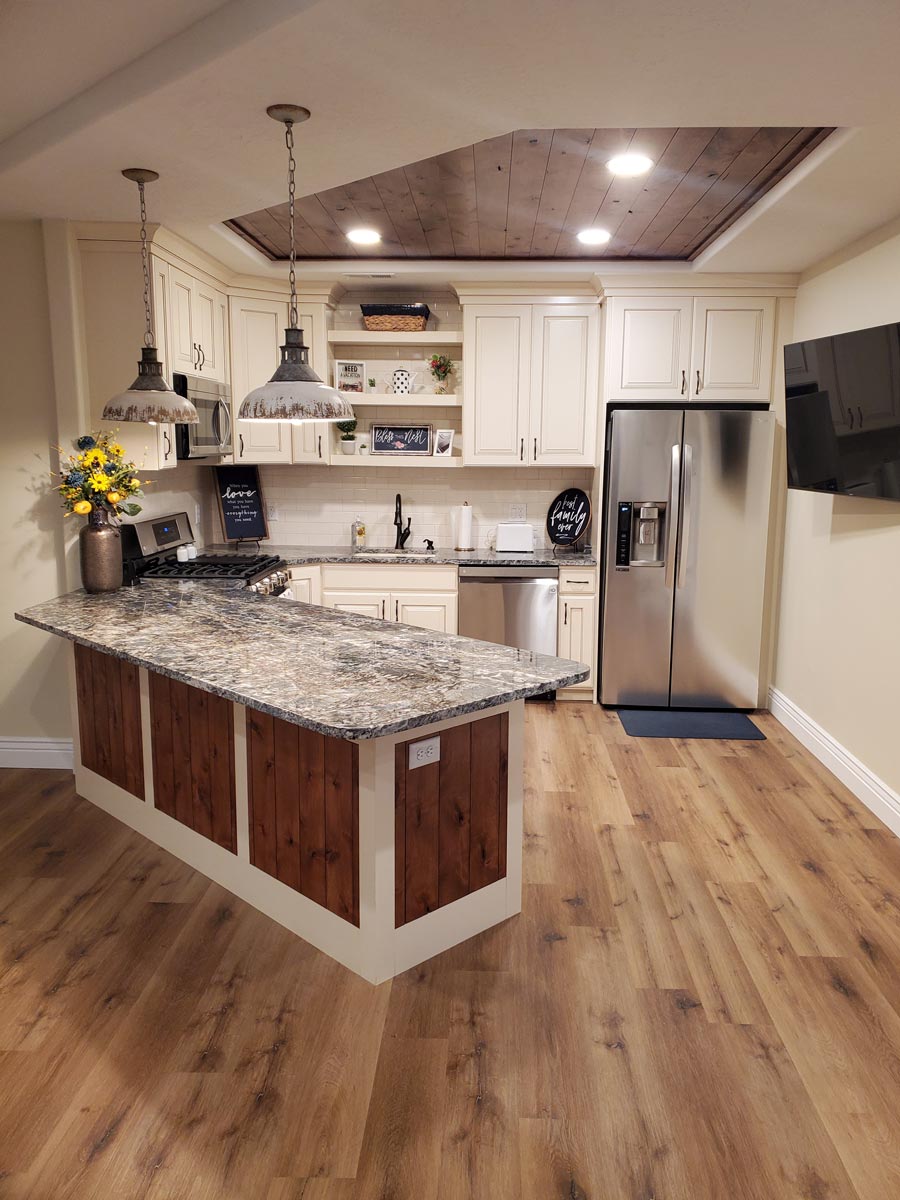
- How a Rough-In Fits Into Finishing Your Whole Basement
- What to Do Next If You Have or Don’t Have a Rough-In
- Frequently Asked Questions
You walk into your basement and notice a couple of pipes coming up through the concrete floor. They look official, but what are they? And could they actually save you a ton of money when you finally decide to finish the space?
A lot of Utah homes already have what builders call a plumbing rough-in, and many owners have no idea it is there. When you do have one, it can completely change how much your basement project costs and how quickly you can turn that empty space into something useful for your family. This guide shows you exactly how to find it, what it is worth, and how to make the most of it without the usual headaches.
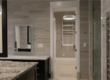
What Exactly Is a Basement Plumbing Rough-In?
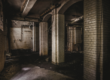
A rough-in is the basic plumbing skeleton that was put in when your house was first built. It usually includes the main drain pipes for a future toilet, sink, and shower, plus sometimes the vent lines. The pipes are there and connected to your main sewer, but there are no fixtures installed yet. It is basically the house giving you a head start on finishing the basement later.
In many Utah neighborhoods built in the last few decades, builders added these pipes because they knew families would eventually want more space downstairs. It is one of those quiet features that can make a huge difference years later when you are ready to turn the basement into something real.
How to Spot a Rough-In in Your Own Basement
You do not need any special tools to check. Just look at the concrete floor with a flashlight and see if you notice any of these common signs:
- A capped pipe that is about 3 or 4 inches wide. This is usually the toilet drain and is the biggest clue.
- A smaller 2-inch pipe close by. This one is often for the sink or shower drain.
- A square or rectangular area that was cut out of the concrete. This is a shower or tub rough-in area.
- Pipes that have caps or plugs on the ends. They were left ready for someone to connect later.
- Pipes that are grouped together in one area instead of scattered all over the floor.
If you see any of these, there is a strong chance you already have a rough-in waiting for you. Take a few photos and note where they are located so you can show a contractor later.
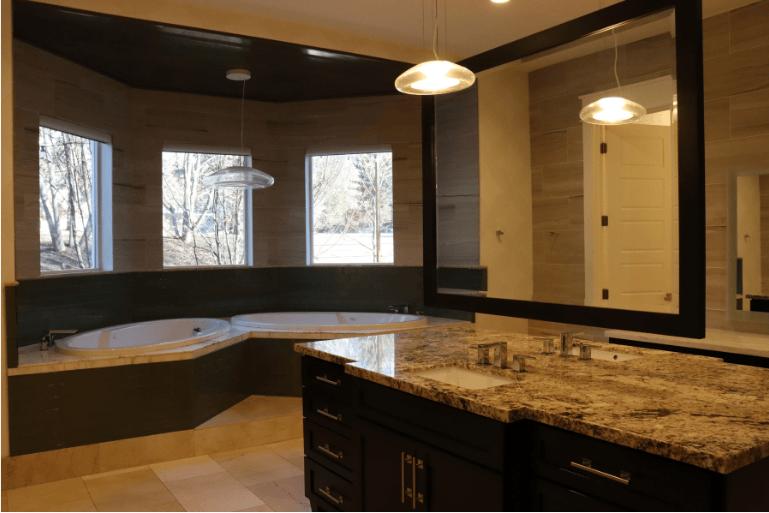
How a Rough-In Can Save You Thousands on Your Basement Project
This is the part that makes homeowners smile. Having the pipes already in the floor can cut a big chunk out of your budget and timeline.
| Project Type | With Rough-In Already There | Without a Rough-In | Typical Savings |
|---|---|---|---|
| Simple Basement Bathroom | $6,200 – $11,800 | $11,500 – $19,500 | $4,500 – $9,000 |
| Guest Suite with Bathroom | $17,000 – $29,000 | $26,000 – $42,000 | $7,500 – $14,000 |
| Basement Wet Bar Area | $4,200 – $8,500 | $8,000 – $15,000 | $3,500 – $7,000Real Story from a Utah Family |
A family in Riverton had been putting off finishing their basement because they thought adding a bathroom would cost a fortune. When we looked at the floor, we found a clean rough-in already in place. They ended up adding a full guest bathroom for under $9,000 total and finished the whole lower level in just over two months. Their parents now stay downstairs when they visit, and the family says it completely changed how they use the house.
The biggest savings come from skipping the concrete cutting, trenching, new main drains, and patching work. That money can go toward nicer finishes or even help you add more to the project than you originally planned.
Why You Should Still Get It Checked Even If You Have One
Finding pipes in your basement floor can feel like a big win. But just because the pipes are there does not mean they are ready to use exactly as they sit. Many Utah homeowners assume everything is fine and then run into surprises once they start the actual work. A quick professional check can save you from expensive fixes later.
Common Issues That Can Still Cause Problems
Even when a rough-in exists, several things can still go wrong. Here are the most common ones homeowners run into:
| Issue | Why It Happens | What Can Go Wrong Later |
|---|---|---|
| Wrong pipe location | Builder placed it for a different layout | Forces awkward bathroom design or extra costs to move pipes |
| Missing or poor venting | Original install was incomplete | Slow drains, gurgling sounds, and sewer smells in the finished space |
| Debris inside pipes | Construction dirt or material left behind | Clogs that appear months after you finish the bathroom |
| Poor connection to main stack | Original tie-in was not done correctly | Backups or the need for expensive re-work after tiling is complete |
A couple in Vineyard saw pipes in their basement but assumed they could just hook up fixtures themselves. After we checked, we found the venting was not done right and there was some debris inside one of the lines. Fixing those issues early saved them from bigger problems later and kept the whole project on budget and on schedule.
What a Professional Inspection Usually Includes
When you have someone come out to look at your rough-in, they typically do the following:
- Visually check pipe locations and sizes against your planned layout.
- Run a small camera through the lines to look for debris or damage.
- Verify that venting is present and properly connected.
- Confirm the drain ties cleanly into your main sewer stack.
- Check for any code issues that could cause problems during final inspection.
Why Checking Early Saves You Money and Stress
Catching issues before you start tiling and painting makes a big difference:
- Fixing venting or debris usually costs a few hundred dollars now instead of thousands later.
- You can adjust your bathroom layout early instead of being stuck with a bad design.
- You avoid the frustration of having to rip out finished work to fix hidden problems.
- Most inspections are quick and give you clear answers before you spend money on materials.
A quick professional inspection (sometimes with a camera) can tell you exactly what you are working with before you spend money on tile and paint. Fixing small issues early is always cheaper than dealing with them after everything is finished.
Utah Soil, Codes, and What It Means for Your Project
Utah has its own challenges with clay soils that expand and contract and occasional radon concerns in certain areas. Having a rough-in already in place helps you avoid cutting into the slab later, which can reduce the risk of future foundation issues. Local codes still require proper venting and backflow prevention, but when the pipes are already there a professional can make sure everything meets current standards without starting from scratch.
Key Utah-Specific Considerations
| Factor | Why It Matters in Utah | How a Rough-In Helps |
|---|---|---|
| Clay Soils | Expand and contract with moisture changes along the Wasatch Front | Avoids cutting the slab, reducing risk of future foundation cracks |
| Radon Concerns | Present in many Utah valleys and neighborhoods | Less disruption to existing radon systems or mitigation plans |
| Cold Winters | Pipes in unheated basements can freeze | Easier to add proper insulation during initial inspection |
| Code Updates | Venting and backflow rules have tightened over the years | Professional can verify compliance without major new work |
Pipes in unheated basements also need good insulation to handle our cold winters. A quick check during the inspection can confirm everything is protected the right way.
Common Mistakes and How to Avoid Them
Even when you have a rough-in, small oversights can turn into big (and expensive) problems later. Here are the most common mistakes and how to steer clear of them:
| Common Mistake | Why It Happens | How to Avoid It |
|---|---|---|
| Assuming the pipes are ready to use | Thinking “if the pipes are there, everything must be fine” | Get a professional inspection before buying fixtures or starting demo |
| Forcing your layout around the pipes | Trying to make the dream design fit the existing rough-in | Be willing to make small adjustments — it often results in a better layout |
| Ignoring venting | Focusing only on the drain pipes | Have venting checked early — it’s the #1 cause of smells in finished basements |
| Starting finishes before confirming usability | Getting excited and jumping into tiling and painting | Verify the rough-in is functional first — saves ripping out completed work |
| Skipping a professional check | Thinking everything looks okay at first glance | Even a quick inspection can catch issues that would cost thousands later |
How Much Time and Money Can You Really Save?
Having a rough-in already in the floor can make a noticeable difference in both your schedule and your budget. Here’s what most Utah families experience:
| Benefit | Typical Savings | Why It Happens |
|---|---|---|
| Time Saved | 2 to 6 weeks | No concrete cutting, removal, or curing time needed |
| Money Saved | $4,500 – $14,000 | Skips trenching, new main drains, and concrete patching |
| Less Disruption | Major reduction in dust and noise | Especially helpful with kids, pets, or working from home |
| Faster Project Completion | Whole basement often finished 30-40% quicker | Plumbing phase is already mostly done |
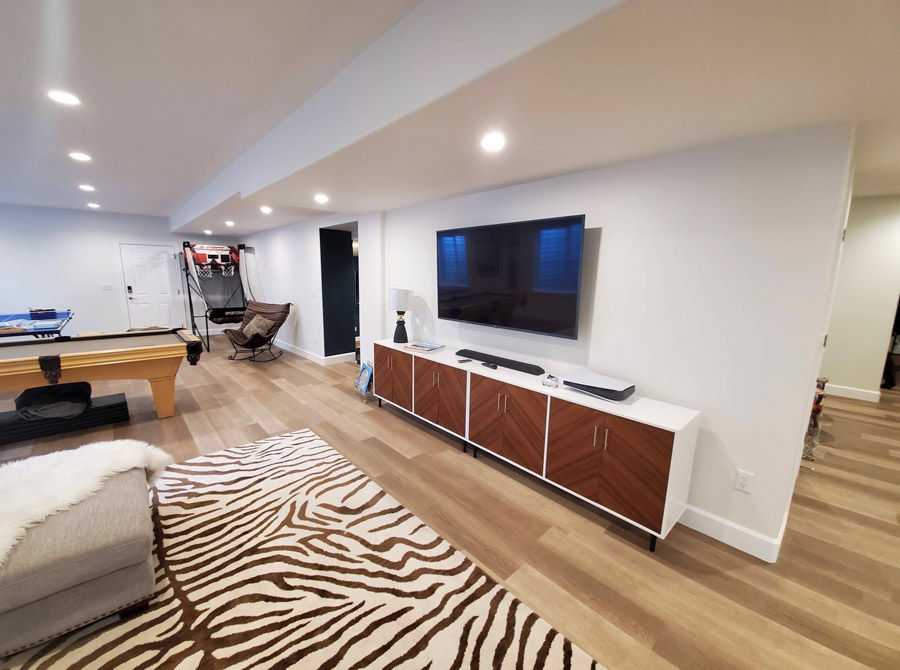
How a Rough-In Fits Into Finishing Your Whole Basement
When you are doing a full basement remodel, a rough-in can make everything flow better. It can be connected during the same rough-in phase as your electrical and HVAC work. This keeps the project moving smoothly and often lets you finish the entire lower level faster than if you had to start plumbing from scratch.
A family in Spanish Fork had a rough-in in their basement and decided to finish the whole lower level at once. Because the plumbing was already in place, they were able to coordinate everything with the electrical and HVAC crews in the same week. They finished the entire basement in under three months with almost no extra dust or disruption to the upstairs. The mom said it felt like the house finally had the space their growing family needed without the usual construction nightmare.
It also helps you keep the focus on making the space comfortable and valuable instead of dealing with big concrete repairs in the middle of everything. Coordination with framing, insulation, drywall, and final finishes becomes much simpler when the plumbing work is already mostly complete.
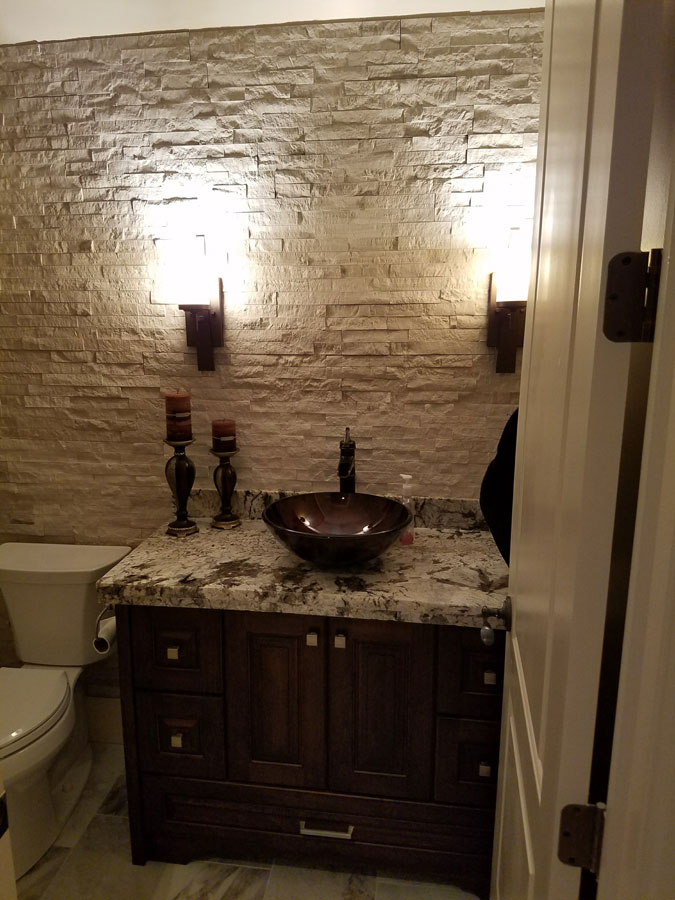
What to Do Next If You Have or Don’t Have a Rough-In
If you spot pipes in your basement floor, the smartest next step is to have a professional take a quick look. A short inspection can tell you exactly what you are working with and how to make the most of it.
If You Have a Rough-In
- Schedule a quick professional inspection (often $300–$600).
- Get a camera check if there’s any doubt about debris or condition.
- Ask how the existing layout can work with your desired bathroom or bar design.
- Confirm venting and insulation are up to current Utah standards.
If You Don’t Have a Rough-In
- Don’t panic. There are still excellent options that avoid breaking the slab.
- Consider above-floor systems (macerating toilets and lift pumps) that can be installed with minimal disruption.
- Ask about costs and timelines for adding plumbing without concrete work.
- Plan the layout early so any new rough-in work can be coordinated with the rest of your basement project.
The key is knowing what you have or not, before you start spending money on finishes. A short conversation with a contractor who knows Utah basements can save you thousands and keep your project on track.
Final Thoughts
Those pipes in your basement floor might be one of the best surprises your house has for you. When you have a rough-in, adding a bathroom or wet area becomes faster, cleaner, and more affordable. It is one of the simplest ways to increase your home’s value and make the basement actually useful for your family.
Take a look downstairs this weekend. You might be closer to turning that space into something you love than you thought.
Frequently Asked Questions
How do I know if the pipes in my basement are a rough-in?
Look for capped pipes (especially 3–4 inches wide) and any square or rectangular cutouts in the concrete. If the pipes are grouped together and look like they were intentionally left for future use, it’s very likely a rough-in.
Can I still use a rough-in even if it’s not in the perfect spot?
Yes, in most cases. Small adjustments to your bathroom or bar layout can usually make everything work well. A quick professional review can show you the best options without major changes.
What if there’s debris inside the pipes?
This is fairly common. A camera inspection can check the inside of the lines quickly. Most debris can be cleared out easily and inexpensively when caught early.
How much does it cost to have a rough-in inspected?
A basic visual inspection usually runs between $300 and $600. Adding a camera inspection typically adds $200–$400. It’s a small investment compared to the potential savings on your project.
Does having a rough-in increase my home’s value?
Yes. Buyers love finished basements with bathrooms or wet bars. When the plumbing is already in place, it makes the space feel more complete and can help the home sell faster and for more money.
What if I don’t have a rough-in?
Don’t worry, you still have good options. Above-floor plumbing systems (using macerating toilets and lift pumps) can be installed with minimal disruption to the slab. Many families successfully add bathrooms this way.
How long does it take to check a rough-in?
A standard inspection usually takes 30–60 minutes. If a camera is used, it may take a little longer. You’ll typically get clear answers the same day.
Can I check the rough-in myself?
You can do a basic visual check, but a professional inspection is strongly recommended. They can verify venting, check for debris with a camera, and confirm everything meets current Utah codes.
How does a rough-in affect a full basement remodel?
It makes the whole project much smoother. The plumbing can be tied in during the same rough-in phase as electrical and HVAC, which often saves 2–6 weeks and reduces mess and disruption upstairs.
Basement Plumbing Rough-In • Basement Bathroom Cost Utah • Identify Basement Rough-In
Bryant Bitner
Founder & Lead Project Manager, Pro-Worx Construction
Bryant helps Utah families turn existing basement rough-ins into real savings and beautiful finished spaces. He focuses on practical solutions that protect your budget and increase your home’s long-term value.
When he is not on job sites you will often find him showing homeowners simple ways to make their basement projects faster and more affordable.